Building a custom CRM usually follows one of two distinct paths. The first assumes that you are starting everything from a blank page, either by learning to code and set up databases or launching a massive months-long project with hired developers. Both options are huge commitments with growing timelines and budgets. And to be honest, a bespoke coding project is an unnecessary complication for the majority of companies.
The second path is simpler and faster. It involves choosing a customization-friendly CRM that, after some configuration, will match the way your team works. In this case, the goal changes from development to configuration. Using EspoCRM features as your base, you can easily build a custom solution through the Administration Panel.

Below, we’ll describe step-by-step how to move from the default settings and adapt the system to function as if it were custom-built for your team.
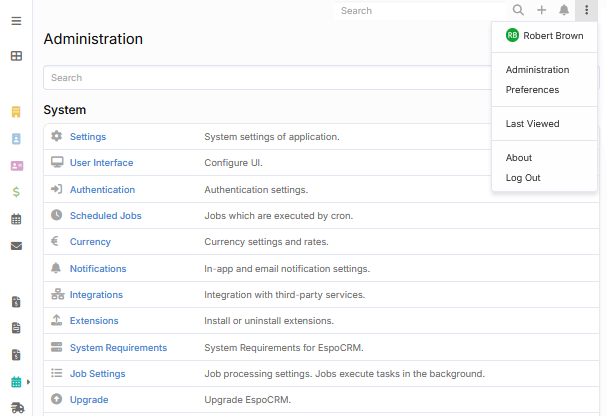
So, what is the Administration Panel?
The Administration Panel is a built-in configuration interface in EspoCRM. It is available to all Admin users under the Administration tab in the main menu. It helps you create the right system setup by choosing the appropriate settings, adding needed entities and fields, adjusting layouts, and removing what you don’t use.
The panel is divided into several functional areas (System, Users, Customization, Messaging, and others), each including specific settings and tools. This guide is going to review the tools you’ll need most to get the system working the way you want. New users can use it as a setup reference to learn more about the system and configure it. If you already have data in your CRM and want to update a specific area, simply skip straight to the relevant configuration or tool.
Step-by-step guide to building a custom CRM
Step 1. Analyze the base CRM structure first
Before starting with the system configuration, look at the tools that are already at your disposal. Out of the box, EspoCRM is installed with a set of entities: Contacts, Accounts, Leads, Opportunities, Cases, Campaigns, Target Lists, Calls, Meetings, Tasks, and many others. All of them have their own fields, layouts, and relationships built in to cover the basic requirements for most sales, marketing, support, and customer management operations.
These entities are the base structure of the CRM, which allows businesses to start using it right after the installation. Naturally, businesses have different operations and most will not fit perfectly into this default structure. Some entities will be handy as is; some will require adding or removing some fields and/or changing labels or layouts; and lastly, some will be redundant and should therefore be disabled.
Your goal at this stage is to get acquainted with the entities and tools you already have and map your business processes against them. Understanding the built-in logic of the system helps avoid duplicating work and make the right decisions about organizing your business data.
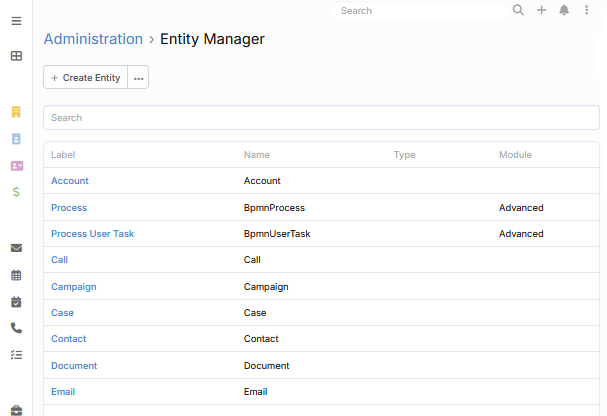
Step 2. Build your data structure with Entity Manager
Entity Manager is the tool that allows you to manage the data structure of your CRM. You can work with the entities that already exist or create entirely new ones if your business tracks information that the default setup doesn’t. The available configuration options allow Admin users to change the general settings (labels, icons, Stream and Kanban Board settings), define what information the entity stores, how it is structured, how different entities connect to each other, and even add formulas to trigger some automatic actions.
So, what can you do with Entity Manager?
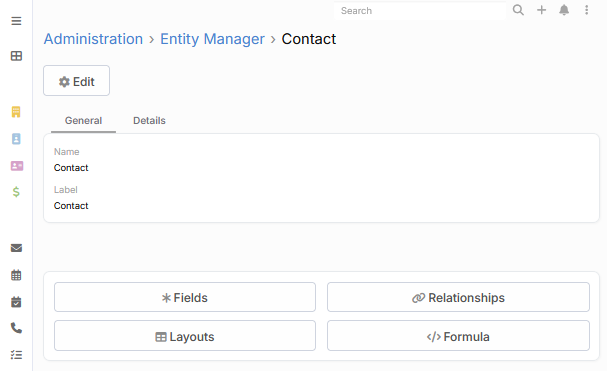
Modifying existing entities. Most default entities in EspoCRM can be adjusted. Select the necessary entity from the list and edit it by adding a custom field to capture information specific to your industry, removing fields that clutter the record views and slow your team down, or changing how a Contact relates to an Opportunity.
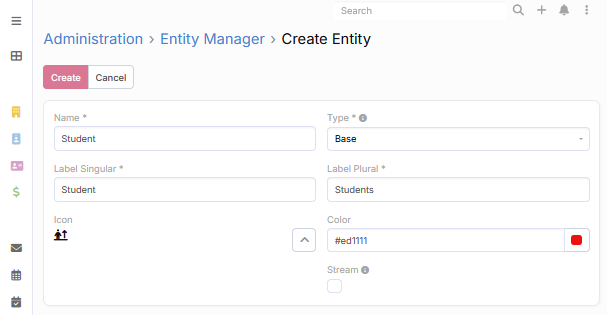
Creating new entities. If standard entities are not enough, you can create a custom one. Click +Create Entity, choose its type, and define its name, label, and icon. For instance, a marketing agency could create a Contract entity and relate it to Leads and Contacts so related records are easier to manage and find. The new entities work the same as built-in entities and get their own set of predefined fields, layouts, and relationships based on their types.
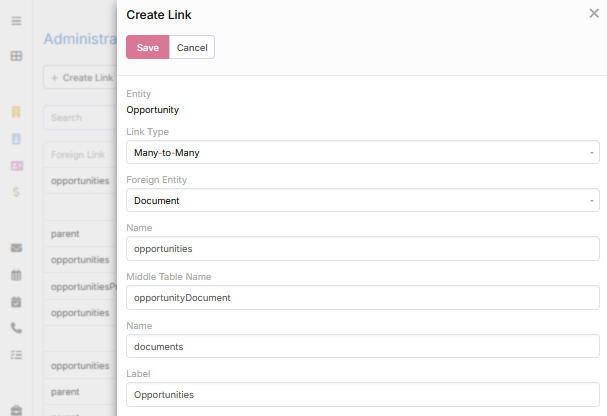
Setting up relationships. Entities are much more useful when they’re connected. Relationships help link two entities together, so that linked records are visible from either side (e.g., you can open any Contact and view and access all related Cases or Documents). EspoCRM supports six relationship types (One-to-Many, Many-to-One, Many-to-Many, One-to-One Right, One-to-One Left, and Children-to-Parent), each of which determines how the entities are linked and how that link is represented on their records.
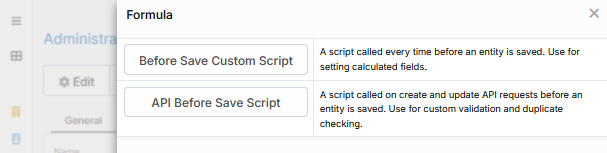
Advanced configurations. Entity Manager also includes two more advanced tools: dynamic logic, which controls field visibility based on conditions, and a formula language for auto-calculating field values. You probably won’t need either in the beginning, but they are useful as your configuration and processes get more complex.
Step 3. Adjust layouts and labels to match your processes
After configuring your entities and fields, the next thing to optimize is what people see when they work with records. A CRM can have a proper data structure, but a poorly ordered layout can be hard to navigate and have illogical information flow, which often leads to more data errors and inconsistencies.
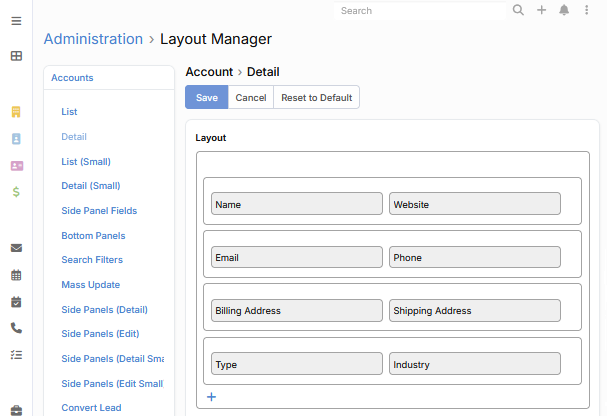
Layout Manager is a drag-and-drop interface that allows you to customize list and detail views, side and bottom panels, search filters, and mass update fields for existing and custom entities. The functionality helps you precisely configure user interaction with data and determine what information appears when they open, edit, or browse through record lists. In all views, you can hide or reorder fields, change the order of panels, customize their style, and apply conditions that make those panels visible.
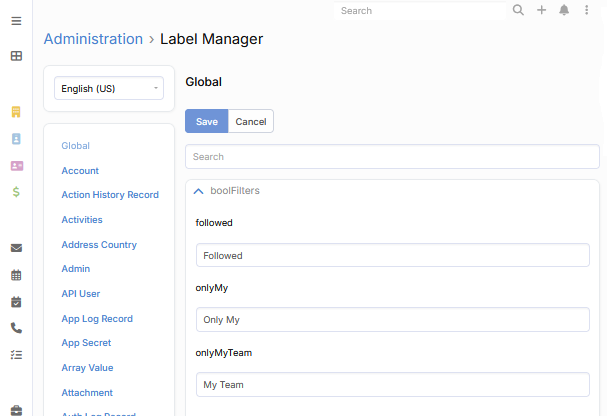
Apart from the layout changes, Label Manager lets you rename any standard field, tooltip, or message to match your team’s internal language or change the translation. Adapting the terminology may seem like a small change, but a CRM with familiar labels is definitely quicker to navigate.
Step 4. Customize UI and navigation
As the data structure is already customized, it is time to turn your attention to the interface. The default homepage and navbar in EspoCRM show lots of tabs and dashlets; and while some can be useful for your business, others can be irrelevant for a certain team or simply clutter the interface.
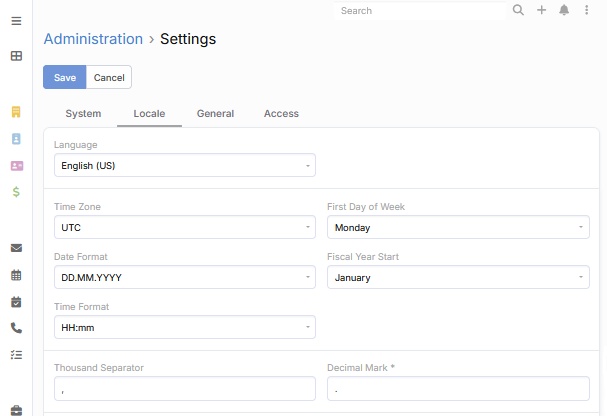
Settings, User Interface, and Dashboard Templates are the three Administration Panel sections that shape how the CRM is presented to your team. The Settings section allows you to adjust the system-wide defaults like language, time zone, date format, and similar system-wide preferences.
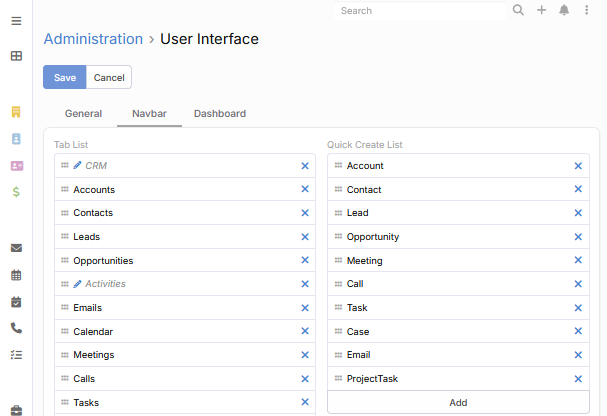
The User Interface section helps you change the visual side of EspoCRM. The navbar menu, theme, app logo and name, default dashboard layouts, and similar settings determine how the system looks and how intuitive it is. An optimized interface will reduce unnecessary clicks and time spent searching for data.
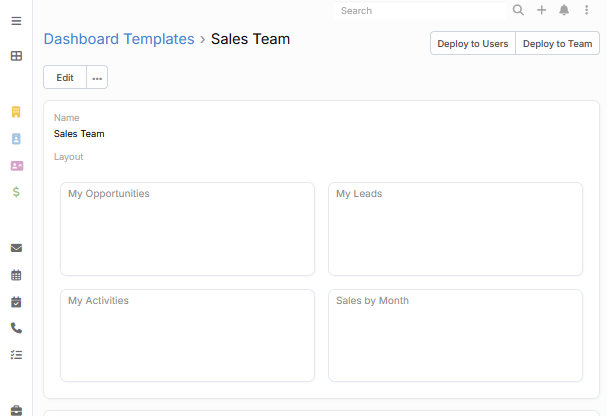
Lastly, you can create Dashboard Templates for different teams or users. When someone logs in, their dashboard will already show the reports and activities relevant to their role.
Step 5. Configure user roles for access control
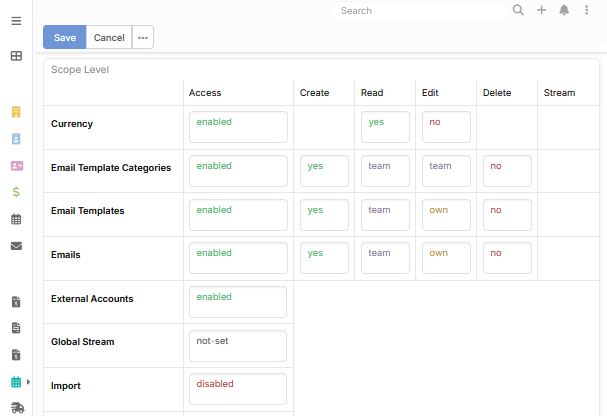
A CRM is a shared system used by all your team members simultaneously for sales, marketing, and customer service. All these people need different access levels for the data they can view and the actions they can perform.
EspoCRM handles this through Roles. A Role is a set of permissions you assign to a user or a group of users. You define what each role can read, create, edit, and delete and those rules apply automatically for every position in your business, from entry-level staff to senior management.
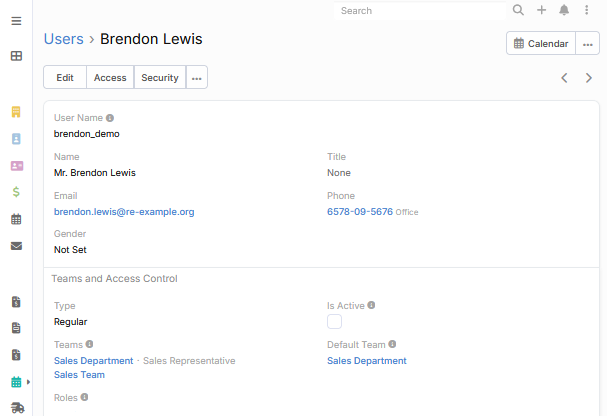
Step 6. Add users and teams
Roles define what’s allowed, but they only take effect once you associate them with actual users and teams. You add and manage both in their respective sections in the Administration Panel. In the Users section, you set up each person’s profile, add their name and email, assign working time calendars, and create login credentials. The Teams section is for grouping your users based on their location, position, or team function. Once both are configured, you can assign roles both at the User and Team level, which is helpful when someone works across more than one part of the business.
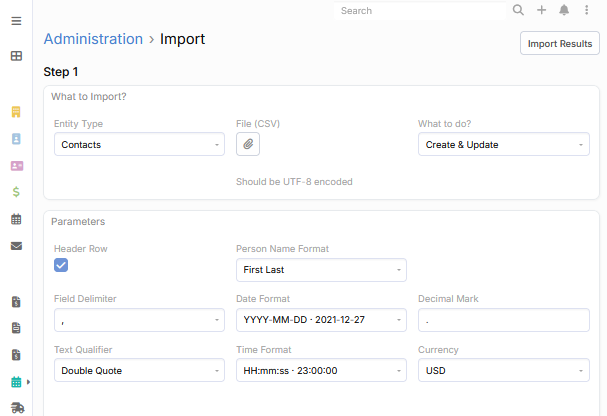
Step 7. Import data and connect your existing tools
Having customized EspoCRM, you can migrate your data into it with the built-in Import tool that uses a CSV file format. During the process, you can map columns from your file to the right fields in EspoCRM, review how the data lines up, check for duplicates, and assign new records to the right team.
If you use Google or Outlook Contacts, Mailchimp, or any other tools, you can set up integrations using REST API or third-party platforms like Zapier or Make to automate data exchange.
Step 8. Automate repetitive tasks and processes
By this point, your CRM has a proper structure, imported data, and the team that is using it. The next step is reducing the number of repetitive tasks with Workflow and BPM automation tools. Workflows provide the ability to automate simpler actions like sending an email to a client after a certain number of days or updating a record’s field when a condition is met.
The BPM tool will be useful for more complex processes with multiple stages, approvals, conditions, and assigned responsibilities. If your business has standard sales or support processes with defined sequences of steps, BPM flowcharts will help you to build and visualize them, and have the CRM follow them automatically every time.